Stop making your gifts look like crumpled paper footballs. Professional wrapping isn't about natural talent; it's about sharp tools, precise cuts, and knowing exactly where to hide the tape. Here are 20 hacks I swear by for clean, department-store results.
If you’re anything like me, you used to treat gift wrapping as a necessary evil—a frantic rush of tearing paper, massive tape use, and ending up with lumpy corners.
I learned the hard way that wrapping isn't just decoration; it’s part of the presentation. It sets the expectation. And the truth is, professional-grade wrapping relies less on innate creativity and much more on measurement, geometry, and a few high-leverage tools.
The good news is that the effort is worth it, especially as the 2025 season approaches. Current trends are leaning heavily into Sustainable and Textural Minimalism, favoring eco-friendly materials like kraft paper and layered textures. This requires precision; you can't be sloppy when the materials themselves are simple and exposed.
This isn’t just a checklist of tips. This is the operational plan for moving from amateur wrapper to precision executor.
The Pro Toolkit: Setup and Measurement Hacks
Professional gift wrapping starts before you make the first cut. If your preparation is messy, your result will be messy. Mastering your tools and materials is the foundation of a flawless presentation. This is where we build the stage for success.
1. Use Double-Sided Tape (Your Secret Weapon)
Visible tape is the amateur’s tell. Eliminate it entirely by using double-sided tape for all your seams, especially the final wrap-around seam, and the side folds. This creates a seamless, clean department-store finish where the paper looks like it’s fused together. The only time you should see tape is when you’re securing the ribbon, and even then, make it hidden.
2. Measure and Minimize Paper
The "Too Much Paper" rule is responsible for most sloppy packages. Excess paper causes wrinkles, bulges, and unnecessary bulk on the corners.
To calculate the necessary amount: Ensure the paper only overlaps by about 1 to 1.5 inches for the final seam. For the sides, hold the box vertically on the paper; the overhang should be just enough to cover the ends of the box, meeting cleanly at the center. Less is always more.
3. Invest in Sharp Scissors
This isn't a suggestion; it's a non-negotiable directive. A sharp, comfortable pair of scissors is key to clean, straight cuts. If your scissors are chewing the paper or dragging, you’ll never get a straight line, and you’ll strain your hands when tackling a pile of gifts.
It’s about respecting the process, which is a big deal to me. I apply this kind of strict discipline to everything, especially the boring necessities. For example, I lift three times a week purely to manage chronic back pain. It’s tedious, but the consistent, focused effort is the only way to get a clean, functional outcome. Sharp tools and good form are required whether I’m lifting weights or cutting paper.
4. Use the Grid for a Straight Edge
If you can, always opt for wrapping paper with a grid pattern printed on the back. This eliminates guesswork. Use those faint lines to ensure you cut a perfectly straight edge, which facilitates the trimming process and prevents jagged, frustrating seams. If your paper doesn't have a grid, use a ruler to draw a faint line with a pencil.
5. Work Upside Down
This is a simple orientation hack that makes a massive difference. Position the gift upside down on the paper. This ensures the final seam—which, even when perfectly executed, is the least attractive part of the wrap—ends up on the bottom of the package, hidden from the recipient's view.
Precision Wrapping: Mastering the Perfect Square
The difference between amateur and pro wrapping lies in the crispness of the corners and the tautness of the paper. This section is all about geometry and tension.
6. The Paper-Tightening Hack
The single greatest secret to professional wrapping is tension. Keep the wrapping paper taut around the entire package, pulling firmly before securing the main seam. A tight wrap prevents wrinkles, minimizes the appearance of bumps, and is the secret to achieving those super-crisp, architectural lines.
7. The Double-Fold Seam
Never let a raw, cut edge show. For a clean final seam, fold the very last half-inch of the paper under itself. This creates a smooth, finished, folded edge that eliminates the rough, cut line before you secure it with double-sided tape.
8. Score Your Creases
Don't rely on your fingers to create sharp folds. Use a bone folder or the blunt edge of a credit card to press and score all your folds and edges sharply against the box. This step is mandatory. Scoring creates the "crispness" of high-end wrapping that gives the package structural integrity.
9. The Corner-Folding Trifecta
This is the standard technique for folding the ends, and it must be done with tight precision:
- Bring the paper down against the box to create two small triangular "wings" at the sides.
- Flatten those wings tightly against the sides of the box.
- Fold the remaining triangle up, making sure it pulls tautly over the edge, and secure it with double-sided tape.
10. The Diagonal Corner Trick
For a slightly cleaner look, especially on thicker paper, try this variation: Instead of folding the corner triangles straight up, fold the final flap at a slight diagonal angle. This ensures a cleaner, narrower line on the bottom of the gift and helps reduce bulk where all the paper meets.
Conquering the Impossible: Odd-Shaped Gift Hacks
Cylinders, spheres, and gifts with sharp, non-rectangular edges cause the most frustration. These hacks use clever geometry and alternative materials to make the job painless.
11. The 'Box-It-Up' Rule
If a gift has a distinct, non-rectangular shape or sharp edges that threaten to tear the paper (looking at you, weirdly shaped gadgets), just box it up first. Place the item inside a plain square or rectangular gift box. This simplifies the geometry immediately and ensures a flawless wrap.
12. The DIY Gift Bag Hack
When a gift truly won't conform, make a custom vessel for it. Use your wrapping paper to create a custom-sized pouch. By folding and securing a clean, flat hexagonal base, you can make a perfectly sized gift bag that matches the rest of your wrapping paper aesthetic. Use a hole punch and some ribbon to seal the top.
13. Furoshiki Fabric Wrapping
Embrace the Japanese technique of Furoshiki. Instead of paper, use a large square of fabric—a scarf, a nice tea towel, or a square of beautiful linen. This is perfect for wine bottles, spheres, or soft items, as the fabric’s pliability naturally conforms to the shape. Plus, the wrap itself becomes part of the gift.
14. The Crepe Paper Conform
For bottles or oddly contoured items where you don’t want to use fabric, crepe paper streamers are your friend. Wrap it spiral-fashion from the center outwards. Crepe paper’s natural stretch allows it to conform perfectly to awkward shapes without tearing or wrinkling dramatically.
15. Pad Fragile Gifts
If you hear rattling, you’re not done. For items that rattle or are fragile, use tissue paper, crinkle-cut paper, or shredded paper inside the box as padding. This secures the item, prevents internal shifting, and just makes the whole experience feel more substantial.
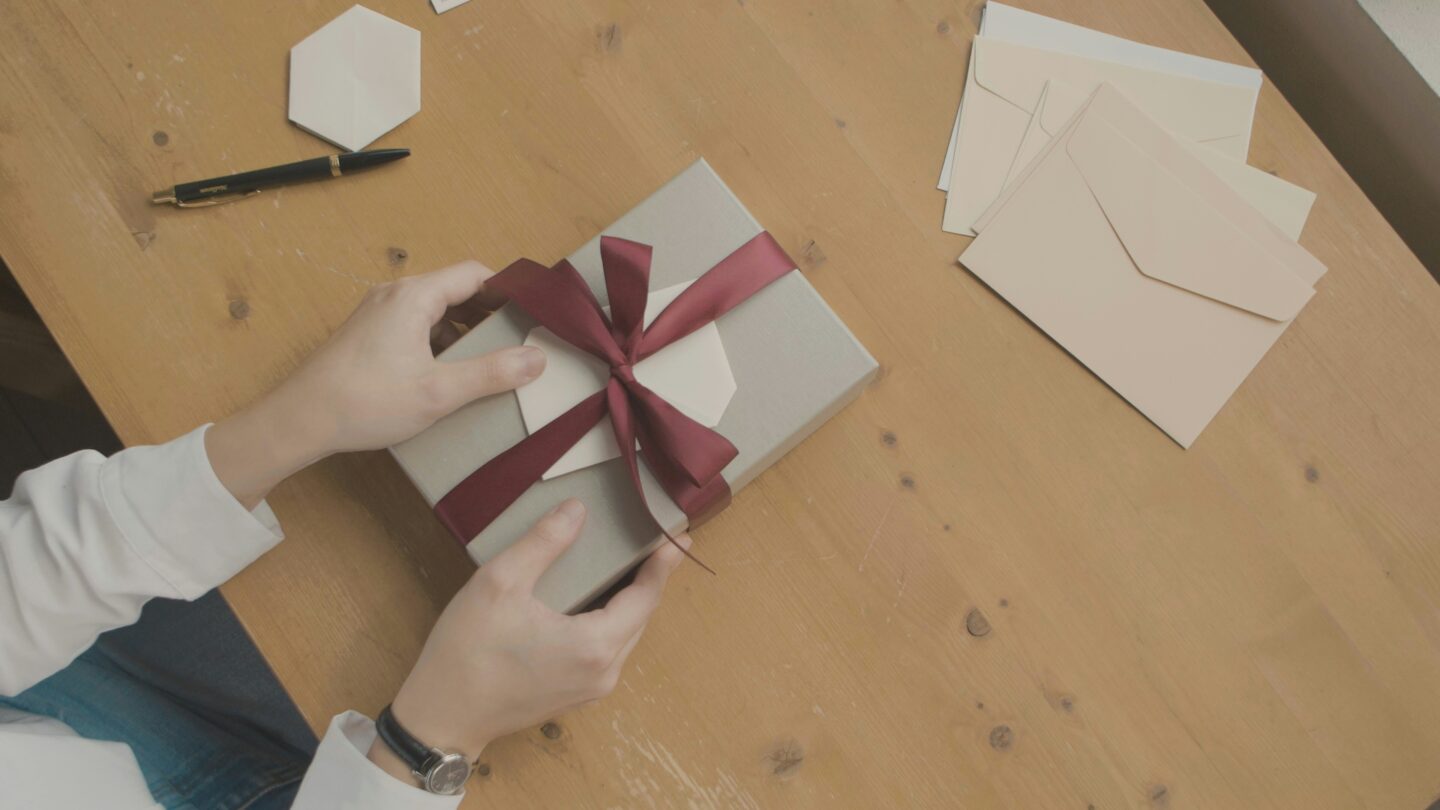
The Final Flair: Ribbon, Bows, and Embellishment Hacks
You’ve mastered the geometry. Now, we elevate the presentation. The "pro" look is finished with textural elements and a cohesive design, not just a slap-on store-bought bow.
16. Tear Fabric for Custom Ribbon
Specialty ribbon can be expensive, but basic fabric isn’t. Cut yardage of affordable fabric—think linen, cotton, or simple silk—into strips. This creates beautiful, wide, textural "ribbons" that are significantly more dramatic and often more affordable than buying high-end ribbon rolls. The raw, torn edges of linen add a beautiful organic texture.
17. Layer Ribbons for Sophistication
Never settle for one single ribbon. Layering adds depth and visual interest. Try using a wide velvet or burlap ribbon as the base, then secure a thinner, contrasting ribbon (e.g., satin or metallic twine) over the top. The effect is immediate and feels expensive.
18. The Dovetail Ribbon Cut
This is a tiny detail, but it speaks to your level of care. To prevent fraying and provide that quintessential professional finish, fold the end of your ribbon in half lengthwise and snip at an angle with sharp scissors to create the iconic, neat 'V' (dovetail) shape.
19. Swap a Bow for a Natural Topper
Forget those pre-made plastic bows. Replace traditional sticky bows with natural, textural elements that align with the season. Think sprigs of evergreen, dried orange slices, small pine cones, or cinnamon sticks tied on with jute twine. These elements provide organic texture and scent, which elevates the presentation entirely.
20. Use Ribbon to Hide Flaws
If you know where your wrapping is weakest, be strategic. Place your ribbon or twine directly over the wrapping paper overlap seam. This turns a potential flaw—that final, secured line of paper—into a decorative feature. It’s pragmatic engineering applied to aesthetics.
Conclusion
The takeaway here is that excellent gift wrapping is not magic; it’s a commitment to geometry and sharp tools.
It’s a disciplined process that requires you to slow down, measure twice, and pull everything tight. It’s about taking the extra two seconds to double-fold the seam or score the crease with the edge of a credit card.
When you present someone with a perfectly wrapped package, you’re not just giving them a gift; you're offering them a small, quiet moment of beauty and signaling respect for the contents, and for them.
If you commit to these twenty high-leverage hacks—focusing on precision, tension, and texture—you will permanently leave behind the era of crumpled corners and visible tape. You’ll be wrapping like a pro, and that feeling of polished completion is its own reward.
See also in Life Hacks
The Decoy Effect Marketers Use to Make You Choose the Expensive Option
The ‘One-In-One-Out’ Rule That Prevents Clutter from Ever Accumulating
The Freezer Meal Strategy That Saves Families $300 a Month
10 Hacks for Organizing Wallets Smartly
12 Hacks for Tidying Kitchens Easily
20 Life Hacks for Stress-Free Baking